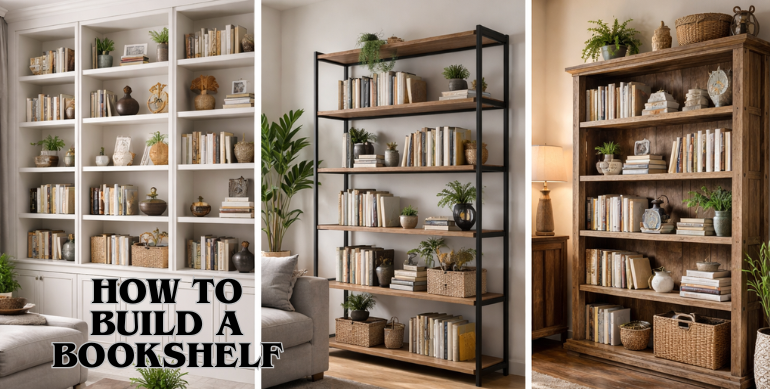
Building your own bookshelf is more than just a simple DIY project; it’s an opportunity to blend creativity, functionality, and craftsmanship into a piece that transforms your space. Learning how to build a bookshelf empowers you to design a unit perfectly tailored to your needs, whether you want to organize books, display cherished collectibles, or enhance your home décor with a unique focal point.
By selecting the right materials, such as solid wood, plywood, or MDF, and using the proper tools for cutting, assembly, and finishing, you can ensure durability and a professional-looking result. This guide provides step-by-step instructions, recommended materials, essential tools, design tips, customization ideas, and finishing techniques to ensure your bookshelf turns out both beautiful and sturdy.
| Step / Section | Key Points (Short Form) |
| Plan & Design | Measure space, decide shelves, sketch style |
| Materials | Choose wood, screws, brackets, and finish |
| Tools | Saw, drill, tape measure, level, sander |
| Cut Wood | Measure, cut panels, sand edges |
| Assemble Frame | Attach the top/bottom square corners, and add the back. |
| Install Shelves | Place the unit level and secure, and arrange items |
| Sand & Smooth | Medium → fine grit, wipe dust |
| Apply Finish | Paint, stain, or varnish; dry and seal—part of learning how to build a bookshelf |
| Install & Organize | Place the unit level and secure, and arrange items |
| Design Tips | Floating, ladder, corner, built-in, decor |
| Customization | Color, spacing, hardware, themed shelves |
| Safety | Wear goggles/gloves, ventilate, and secure tall units |
| Maintenance | Dust, tighten screws, reapply finish, avoid moisture |
| Common Mistakes | Wrong measurements, overload, poor finish, weak wood |
| Benefits | Custom, cost-effective, satisfying, durable, creative |
How to Build a Bookshelf?

Building your own bookshelf is a rewarding DIY project that allows you to combine functionality, style, and personal creativity. How to build a bookshelf involves careful planning, selecting the right materials such as plywood, solid wood, or MDF, and using essential tools like saws, drills, and sanders.
By measuring accurately, cutting precisely, assembling the frame securely, and finishing with paint or stain, you can create a sturdy and attractive bookshelf tailored to your space and storage needs. Following these steps ensures your DIY bookshelf is both practical and a beautiful addition to your home décor.
Benefits of Building Your Own Bookshelf
Creating a bookshelf yourself offers several advantages compared to buying a pre-made unit:
- Customization: Design the size, number of shelves, and style to perfectly fit your space.
- Cost-Effective: DIY projects often cost less than purchasing high-quality furniture.
- Personal Satisfaction: Completing a project builds confidence and adds a personal touch to your home.
- Durability: Using quality materials ensures a long-lasting piece.
- Creative Expression: You can experiment with colors, finishes, and decorative elements.
Essential Materials for Your Bookshelf
Wood Options
• Plywood: strong, affordable, smooth surface for painting or staining
• Solid wood such as oak, pine, or maple for sturdiness and natural finish
• MDF (medium-density fiberboard), smooth painted finish, less expensive
Fasteners
• Wood screws
• Nails if needed
• Wood glue for extra strength
Support Materials
• Brackets or shelf pins for adjustable shelving
• Corner braces for reinforcement
Finishing Supplies
• Sandpaper, various grits
• Wood stain or paint
• Wood sealer or varnish
• Brushes, rollers, or cloths for application
Tools Required

Having the right tools is essential for a safe and precise bookshelf build. Cutting tools such as a circular saw, table saw, or handsaw allow accurate cutting of wood panels. Measuring tools, including a tape measure, square ruler, and level, ensure proper alignment and symmetry.
Assembly requires a power drill, screwdrivers, and a hammer for securing fasteners. For sanding and finishing, a sanding block or electric sander, along with paintbrushes or foam applicators, helps achieve a smooth and polished surface.
Step-by-Step Guide to Building a Bookshelf
Plan and Design
Start by determining the dimensions of your bookshelf, including height, width, and depth, based on the available space. Decide on the number of shelves depending on the books or items you plan to store. Sketch a design that includes shelf spacing, thickness, and side support. Consider the style you want, whether it’s an open shelving unit, a closed cabinet, a floating bookshelf, or a ladder-style design.
Cut the Wood Pieces
Measure and mark all wood panels carefully before cutting. Cut panels for the two side supports, top and bottom panels, individual shelves, and an optional back panel for stability. After cutting, sand all edges to smooth out rough surfaces and prepare for assembly.
Assemble the frame
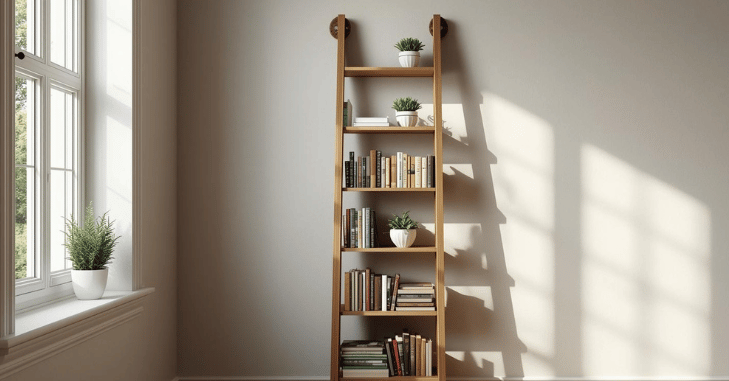
Attach the top and bottom panels to the side panels using screws and wood glue, ensuring all corners are squared with a carpenter’s square. If you opted for a back panel, attach it with nails or screws to add extra stability to the frame.
Install Shelves
Mark the positions for each shelf on the side panels. For fixed shelves, attach them directly using screws or glue. For adjustable shelves, install brackets or shelf pins at the desired heights. Double-check that each shelf is level before securing it permanently. These steps are crucial when learning how to build a bookshelf to ensure stability, proper alignment, and a professional
Sand and Smooth Surfaces
Use medium-grit sandpaper to smooth all surfaces, then follow with fine-grit sandpaper for a polished finish. Wipe off all dust with a damp cloth to prepare the wood for painting, staining, or varnishing.
Apply Finish
Choose a finish based on the look you want, such as paint, stain, or clear varnish. Apply evenly with a brush, cloth, or roller, and allow each coat to dry completely before adding additional layers. Seal with polyurethane or a clear varnish for durability and protection.
Install and Organize
Move the finished bookshelf to its designated location, making sure it is level and stable. For taller or top-heavy designs, use wall anchors for safety. Finally, arrange your books, décor, or collectibles to combine functionality with aesthetic appeal.
Design Tips and Ideas

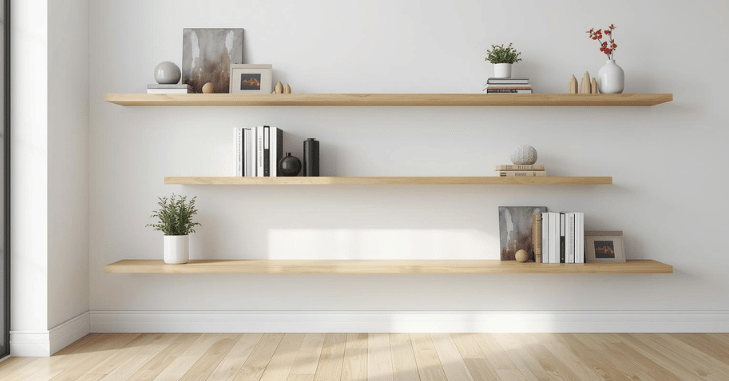
- Floating Shelves: Minimalist look; requires strong wall anchors.
- Ladder-Style Bookshelf: Tapered design with wider bottom shelves.
- Corner Bookshelf: Maximizes unused space efficiently.
- Built-in Bookshelf: Seamless integration into wall recesses for a custom look.
- Combination Shelving: Mix open shelves with cabinets or drawers.
- Decorative Touches: Add molding, lighting, or contrasting paint colors.
Customization and Personalization
- Color and Finish: Paint in bold hues or natural wood stains.
- Shelf Spacing: Adjustable shelves to fit taller books or artwork.
- Decorative Hardware: Stylish knobs or handles, including drawers.
- Themed Shelves: Organize by color, genre, or type of items for visual appeal.
Safety Tips for DIY Bookshelf Projects
Safety should always be a priority:
- Wear safety goggles and gloves when cutting or drilling.
- Keep the workspace clean and free of tripping hazards.
- Ensure proper ventilation when painting or staining.
- Secure tall bookshelves to the wall to prevent tipping.
- Double-check measurements to prevent mistakes and reduce waste.
Maintenance and Longevity

Maintaining your bookshelf properly ensures it remains both functional and visually appealing for years. Regularly dust it with a soft cloth, avoid placing items that exceed the shelf’s weight capacity, and periodically check screws and joints to tighten them if needed.
Reapply finish or sealant as necessary to protect the wood, and keep the bookshelf away from direct sunlight or excessive moisture to prevent warping. Following these steps is an essential part of learning how to build a bookshelf, ensuring your DIY project stays sturdy, safe, and long-lasting.
Common Mistakes to Avoid
- Skipping Measurements: Always measure twice before cutting.
- Overloading Shelves: Know the weight capacity of your material.
- Poor Finishing: Uneven paint or stain can ruin the final look.
- Ignoring Wall Anchors: Tall bookshelves must be secured to prevent tipping.
- Using Low-Quality Materials: Cheap wood may warp or break over time.
Conclusion
Creating a bookshelf yourself is more than just a home improvement project; it’s an opportunity to combine practicality, creativity, and personal style. By following the steps outlined in this guide on how to build a bookshelf, including selecting the right materials, using essential tools, designing thoughtfully, and applying proper finishing techniques, you can craft a durable and attractive piece that perfectly fits your space.
Careful assembly, attention to safety, and regular maintenance will ensure your bookshelf remains functional and visually appealing for years, turning your DIY project into a lasting centerpiece for your home.
Want to know about Should You Share or Split? A Smart Guide for Singapore Homeowners Check out our Home For Sale category.
FAQs
If you already have the necessary woodworking tools, building a bookshelf yourself might be very affordable.
This means resisting the temptation to fill every available inch of space or arrange objects symmetrically on bookshelves, in particular.
To create 15 bookshelves and obtain a level 30 enchantment, 90 boards, 45 leather, and 135 papers are needed.
A bookcase usually has a stronger frame and frequently has doors and shelves that are enclosed.