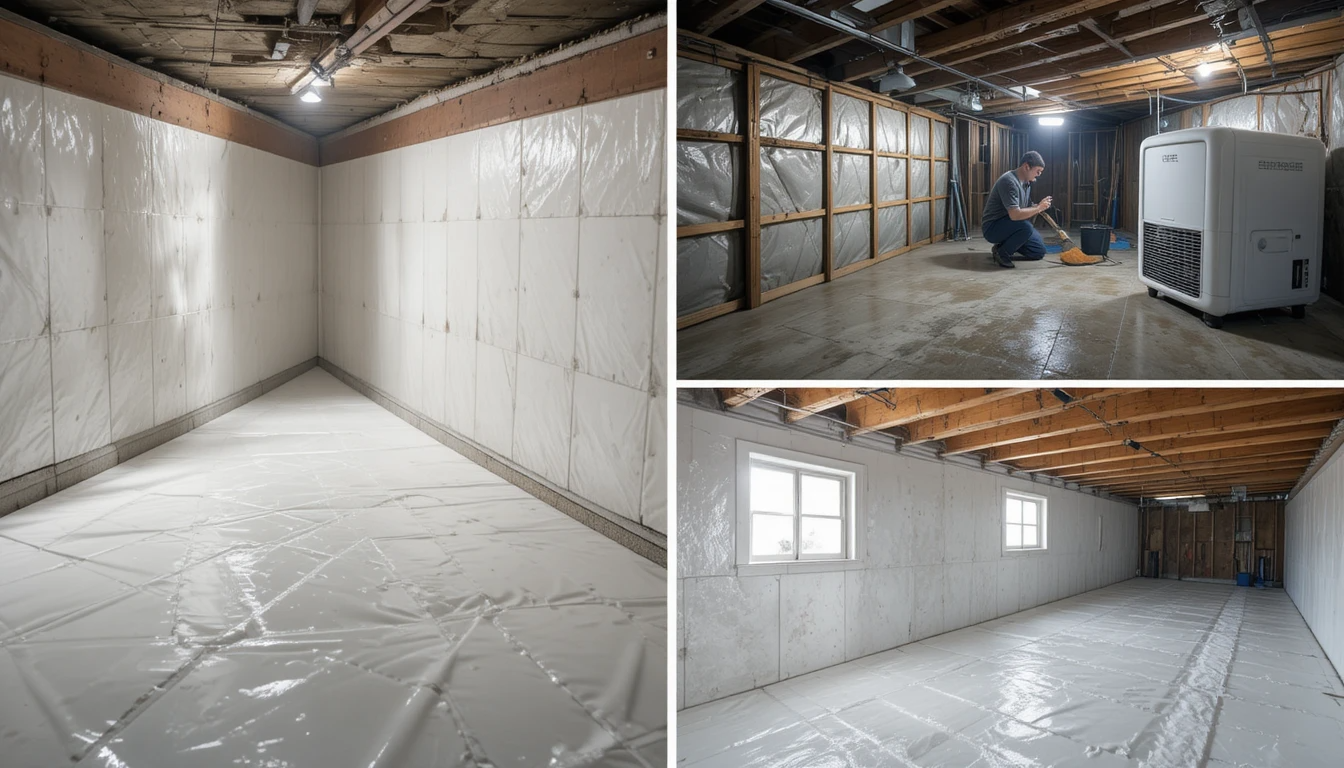
Crawl Space Encapsulation
Your crawl space may not be the most visible part of your home, but it plays a crucial role in maintaining the health, comfort, and efficiency of your entire living environment. Crawl space encapsulation is one of the most effective methods to protect your home from moisture, mold, and structural damage, while also improving indoor air quality and lowering energy costs.
In this comprehensive guide, we’ll break down everything you need to know about crawl space encapsulation, including vapor barriers, insulation, dehumidifiers, installation costs, and long-term benefits.
| Component | Purpose | Key Function | Material or Type | Primary Benefits |
| Vapor Barrier | To block moisture from entering the crawl space from the ground and walls | Seals off soil vapor and humidity | 12–20 mil polyethylene liner | Prevents mold growth, improves air quality, and extends the structure’s life |
| Insulation | To stabilize temperature and improve energy efficiency | Reduces heat transfer between the crawl space and living area | Rigid foam board or spray foam | Lowers energy bills, maintains a consistent indoor temperature |
| Dehumidifier | To control residual humidity inside encapsulated crawl spaces | Extracts excess moisture from the air | Crawl-space-rated dehumidifier with auto-drain | Keeps humidity below 60%, prevents condensation and mildew |
| Drainage System | To manage groundwater and prevent flooding | Directs standing water away from the foundation | French drain or sump pump | Protects against water damage and soil erosion |
| Sealing & Taping | To ensure airtight closure of barriers and vents | Closes gaps, joints, and vents | Industrial-grade tape or caulk | Eliminates air leaks, improves overall encapsulation efficiency |
| Inspection & Maintenance | To preserve system performance | Annual checks for leaks, tears, and humidity | Professional inspection tools | Ensures long-term durability and effectiveness |
What Is Crawl Space Encapsulation?
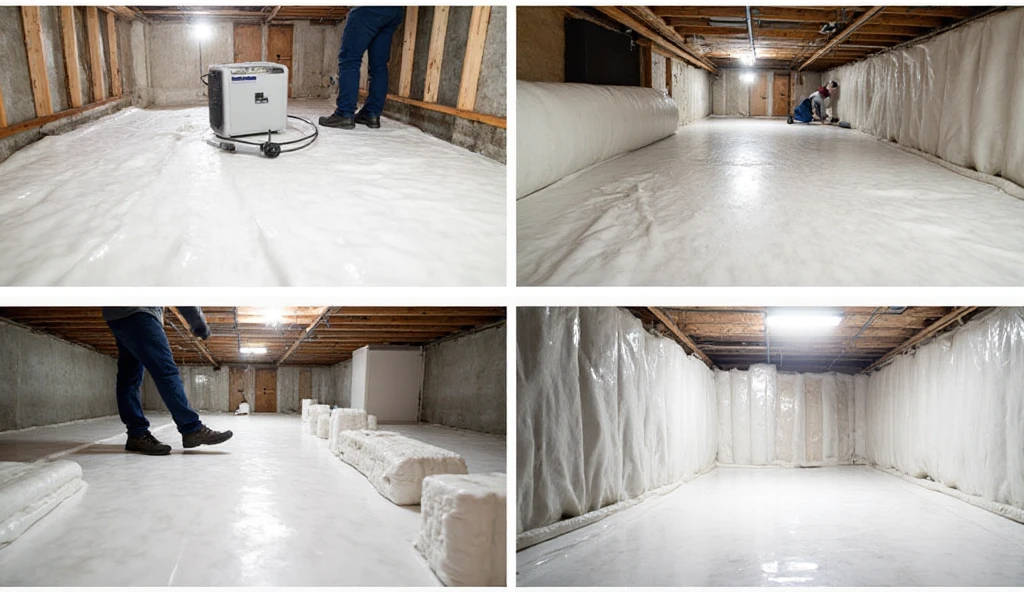
Crawl space encapsulation is the process of sealing your crawl space completely to prevent moisture, air leaks, and contaminants from entering. This is typically done by lining the crawl space floors, walls, and sometimes the ceiling with a durable vapor barrier, installing insulation, and adding a dehumidification system to maintain a controlled environment.
Unlike simple ventilation or plastic sheeting, Encapsulation turns your crawl space into a clean, dry, semi-conditioned area, protecting your home from below.
Why Crawl Spaces Need Encapsulation
Crawl spaces are naturally prone to moisture accumulation, especially in humid or rainy climates. Groundwater, condensation, and poor ventilation can all lead to excessive humidity under your home.
Common problems include:
- Mold and mildew growth
- Wood rot and structural weakening
- Musty odors seeping into living spaces
- Pest infestations
- Higher energy bills due to air leakage
- Poor indoor air quality
Encapsulation solves these issues by blocking moisture and stabilizing the temperature, creating a healthier home environment.
The Crawl Space Ecosystem: How Components Work Together
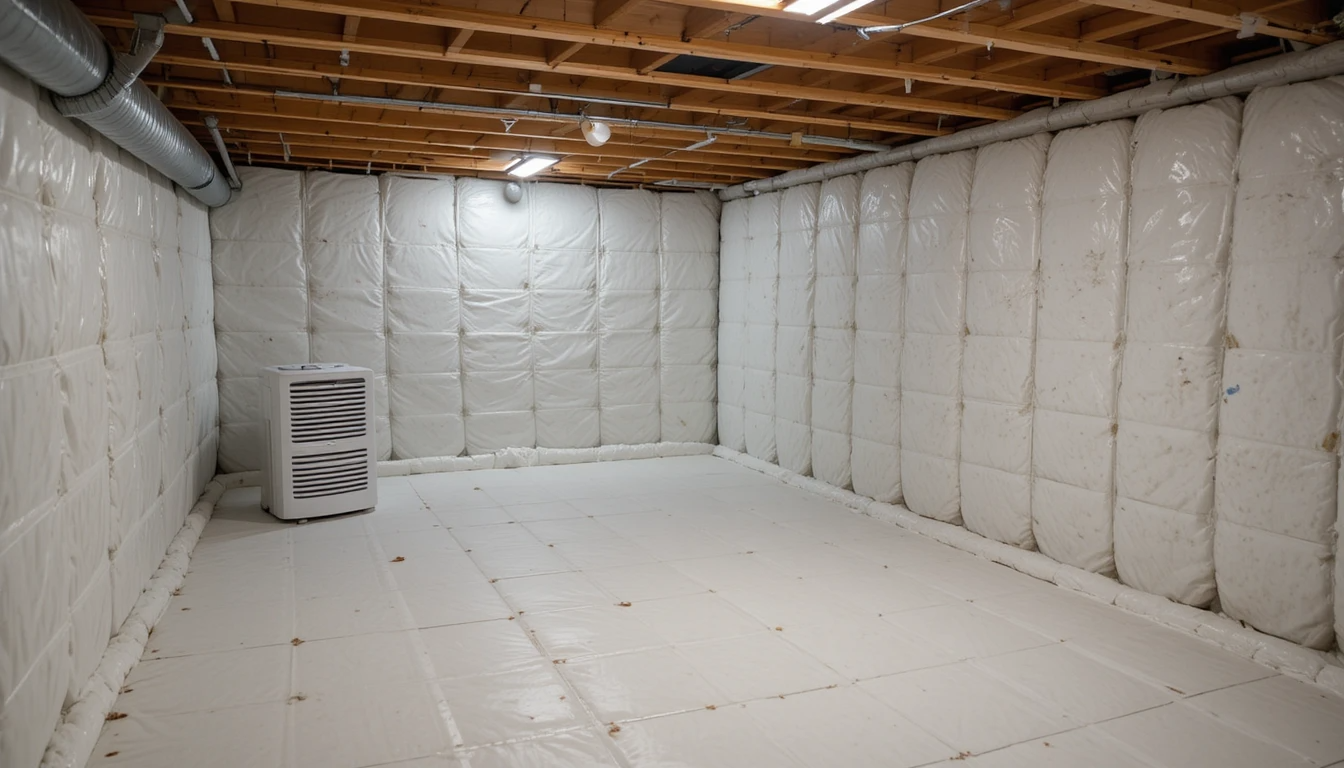
To fully understand how crawl space encapsulation works, it helps to see how each component — vapor barriers, insulation, dehumidifiers, and drainage systems — functions together as part of an integrated system.
| Component | Function | Key Benefit | Recommended Material/Type |
| Vapor Barrier | Seals ground and walls from soil moisture | Prevents humidity and mold | 12–20 mil polyethylene liner |
| Insulation | Maintains consistent temperature | Reduces energy loss | Rigid foam board or spray foam |
| Dehumidifier | Regulates air moisture | Keeps humidity under 60% | Crawl-space-rated dehumidifier |
| Drainage System | Redirects groundwater | Prevents flooding | French drain or sump pump |
| Sealing & Taping | Closes gaps, vents, and seams | Blocks air infiltration | Industrial-grade tape/sealant |
Step-by-Step Crawl Space Encapsulation Process
Here’s how professionals typically encapsulate a crawl space:
1. Inspection and Preparation
Before any installation, the crawl space is inspected for:
- Standing water or leaks
- Mold growth
- Structural damage
- Electrical or plumbing issues
All debris, old insulation, and damaged materials are removed to create a clean base.
2. Drainage Installation (If Needed)
If your crawl space is prone to flooding or standing water, a drainage system such as a French drain or sump pump is installed to manage groundwater before sealing the area.
3. Vapor Barrier Installation
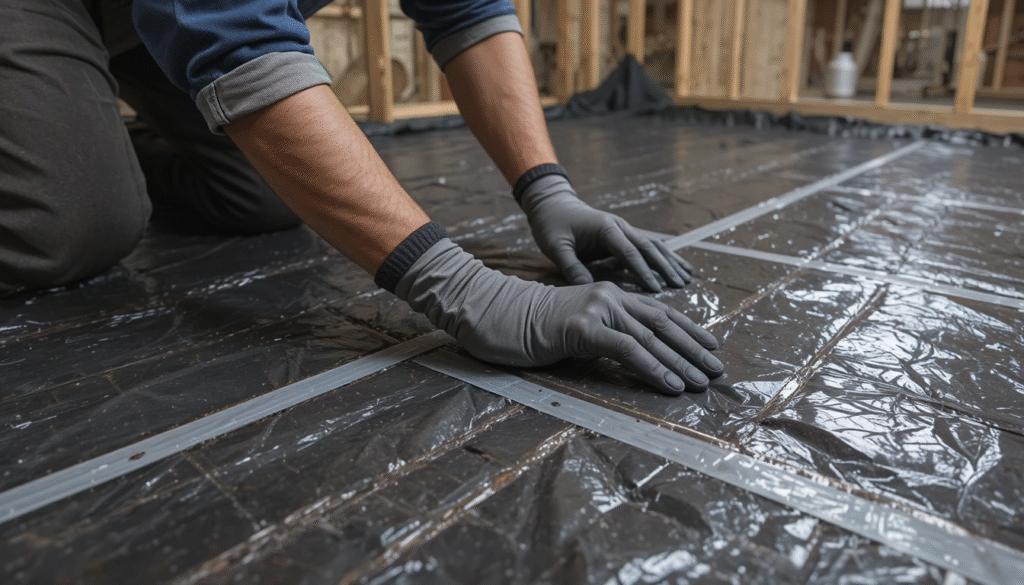
The vapor barrier is the backbone of Encapsulation. It’s a thick, durable plastic liner that covers the entire floor and extends up the foundation walls.
- Seams are overlapped and sealed with specialized tape.
- The liner is anchored securely to walls and columns.
- The goal is 100% coverage to block moisture from soil or concrete.
4. Insulation Placement
Depending on your home and climate:
- Foam board insulation is installed on walls for energy efficiency.
- Spray foam may be used to seal hard-to-reach areas.
- Fiberglass insulation is generally avoided, as it absorbs moisture.
Proper insulation prevents temperature fluctuations and reduces HVAC strain.
5. Air Sealing
Vents, gaps, and entry points are sealed with foam or caulking to stop humid air from entering. Many older homes have vented crawl spaces that invite moisture — Encapsulation fixes this permanently.
6. Dehumidifier Installation
A crawl-space-rated dehumidifier is added to maintain humidity between 45% and 60%. This ensures long-term moisture control even in humid weather.
7. Final Inspection
A final walkthrough ensures:
- No gaps or unsealed seams remain.
- Drainage and dehumidification are functional.
- Humidity readings are stable.
Once completed, your crawl space becomes a clean, controlled extension of your home.
Key Benefits of Crawl Space Encapsulation
Encapsulation offers both immediate and long-term benefits that go beyond just “keeping things dry.”
1. Moisture and Mold Prevention
The primary goal is to eliminate dampness, preventing the growth of mold and mildew — major culprits behind musty odors and respiratory issues.
2. Improved Indoor Air Quality
Around 50% of your home’s air comes from the crawl space. Sealing it prevents pollutants, allergens, and spores from circulating through your HVAC system.
3. Energy Efficiency and Lower Bills
Encapsulation stabilizes temperature and humidity levels, allowing your HVAC system to run less often. Studies show homeowners can save 15–25% on annual energy costs.
4. Structural Protection
Dry wood lasts decades longer. Preventing rot and termites protects your foundation, floor joists, and subflooring from premature decay.
5. Increased Home Value
A clean, sealed crawl space adds resale appeal. Home inspectors often view Encapsulation as a sign of proper maintenance and long-term protection.
6. Pest Control
Sealing entry points keeps rodents, insects, and termites out, especially when paired with regular pest inspections.
7. Comfort and Air Balance
Reduced drafts and humidity fluctuations make your home more comfortable year-round.
Crawl Space Encapsulation Costs
Encapsulation costs vary depending on crawl space size, materials, and location. On average, expect:
- Basic Encapsulation: $3,000 – $5,000
- Complete Encapsulation with Insulation & Dehumidifier: $7,000 – $14,000
- Large or Complex Crawl Spaces: Up to $20,000
Cost Factors:
- Crawl Space Size: Larger areas require more material and complete labor.
- Condition: Mold remediation or drainage installation adds to the cost.
- Material Quality: Thicker vapor barriers (20 mil) last longer but cost more.
- Dehumidifier Installation: Adds $800–$1,500 depending on model.
- Insulation Type: Spray foam is more expensive but provides better sealing
The Role of Dehumidifiers
Even with barriers and insulation, a small amount of moisture can still enter the crawl space through air leaks or foundation walls. That’s where dehumidifiers come in.
Benefits of Crawl Space Dehumidifiers:
- Keeps humidity below 60%
- Prevents condensation and mold
- Improves air quality
- Protects wooden beams and insulation
Dehumidifiers with smart sensors automatically adjust to humidity levels and can drain automatically, requiring minimal maintenance.
Crawl Space Encapsulation vs. Vapor Barrier Only
Some homeowners choose to install only a vapor barrier, rather than complete Encapsulation. While this offers basic moisture protection, it doesn’t seal vents, insulate, or regulate humidity.
| Feature | Vapor Barrier Only | Full Encapsulation |
| Moisture Control | Moderate | Excellent |
| Mold Prevention | Partial | Complete |
| Air Quality Improvement | Minimal | Significant |
| Energy Efficiency | Low | High |
| Pest Prevention | Limited | Strong |
| Lifespan | 5–10 years | 20+ years |
Complete Encapsulation provides far greater long-term value and protection.
Environmental and Health Impact
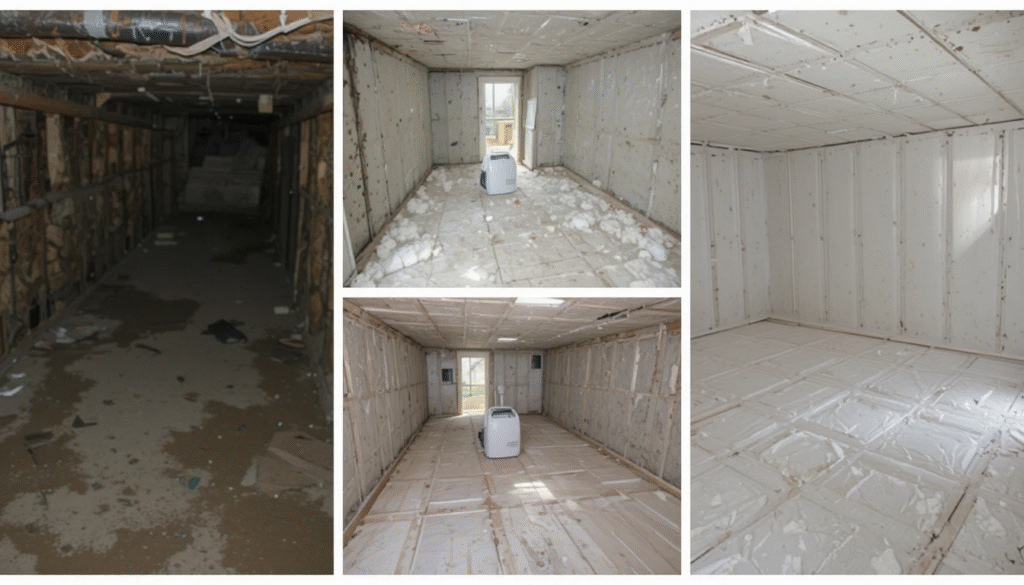
Crawl space encapsulation also contributes to a greener, healthier home by reducing overall energy consumption and minimizing the household’s carbon footprint. It prevents the circulation of allergens, mold spores, and other airborne contaminants that often originate from damp, unsealed crawl spaces.
Additionally, it helps create a more stable indoor climate year-round, maintaining consistent humidity and temperature levels. For families dealing with asthma or allergies, encapsulation can make a significant difference by improving indoor air quality, comfort, and respiratory health.
Impact of Crawl Space Encapsulation on Indoor Air Quality
One of the most important but often overlooked benefits of crawl space encapsulation is its direct impact on indoor air quality. Because air naturally rises from the lowest parts of a home through a process known as the “stack effect,” any moisture, mold spores, or contaminants present in the crawl space can easily circulate into the living areas above.
By sealing the crawl space completely and controlling humidity levels, encapsulation significantly reduces the movement of airborne pollutants. This helps minimize allergens, musty odors, and potential respiratory irritants, creating a healthier indoor environment.
Maintenance and Longevity
Once encapsulated, your crawl space requires minimal upkeep. However, annual inspections are recommended to ensure:
- No tears or damage to the liner
- Dehumidifier functioning properly
- The drainage system is clear
- Humidity remains stable
When properly maintained, Encapsulation can last 20–25 years, making it a one-time investment with ongoing benefits.
Conclusion
Crawl space encapsulation isn’t just a home improvement project; it’s a long-term protection strategy for your home’s foundation, air quality, and efficiency. By combining vapor barriers, insulation, dehumidifiers, and drainage systems, you create a sealed, controlled environment that prevents moisture-related issues.
If you’re tired of musty odors, battling high humidity, or want a more energy-efficient home, Encapsulation is the ultimate solution to moisture-related issues from the ground up.
Want to know about Basement Bedroom: And An Ultimate Guide About How to Transform Your Basement into a Cozy Bedroom, And More Info Check out our Quick Bites category.
FAQs
The duration can vary depending on the crawl space size and the project’s complexity, typically ranging from a few days to a week.
While some DIY elements are possible, professional installation is recommended to ensure proper sealing and effectiveness.
It minimizes drafts, maintains consistent temperatures, and reduces the workload on heating and cooling systems, leading to lower energy bills.
Address any existing moisture issues before Encapsulation, which may involve repairs, mold remediation, or drainage improvements. Consulting a professional is advisable.