
Getting To Know About Installing A Ceiling Fan
Installing a ceiling fan is an efficient way to improve room ventilation, enhance comfort, and reduce energy costs. Proper installation ensures safety, optimal airflow, and long-lasting performance. Choosing the right fan size, position, and mounting method is essential, along with following electrical safety measures.
Using quality tools and adhering to manufacturer guidelines simplifies the process. Whether for small or large rooms, installing a ceiling fan provides effective cooling, aesthetic appeal, and energy savings, making it a valuable addition to any home or workspace.
| Basics | Details |
| Tools | Screwdriver, pliers, wire strippers, drill, ladder, tape, voltage tester, fan kit |
| Ceiling Height | Minimum 7 ft from floor, 10-12 in from ceiling |
| Power | Turn off the breaker; verify with a voltage tester. |
| Electrical Box | Must support 50-70 lbs; reinforce if needed |
| Bracket | Secure, level, anchored to joists or toggle bolts |
| Wiring | Black-black, white-white, green-ground, wire nuts & tape |
| Blades | Attach securely, 8-10 in from walls. |
| Testing | Check rotation and balance; adjust with the blade kit |
| Maintenance | Clean blades, tighten screws, lubricate, and reverse seasonally. |
| Room Size | 42-48 in small rooms, 52-56 in medium rooms, 60+ in large rooms |
| Placement | Center of the room; clear from walls & obstacles |
| Accessories | Light kits; remote controls optional |
| Cost | Fan $80-400+, materials $20-50, labor $75-150/hr |
| DIY Tip | Reduces labor cost, ensures safety if done correctly |
Tools Required for Installation
Installing a ceiling fan requires basic and specialized tools. Essentials include a screwdriver set, pliers, wire strippers, a voltage tester, measuring tape, ladder, drill, and a spirit level. Optional tools, such as a blade-balancing kit, improve performance. Ensure all screws, bolts, and mounting hardware from the fan kit are ready. Having all tools organized before starting simplifies installation, ensures safety, and reduces the risk of errors.
Installing A Ceiling Fan: A Follow-Up Process
Step 1: Gather Tools and Materials

Before installing, collect the necessary tools, including a screwdriver, pliers, wire strippers, a ladder, a drill, a measuring tape, and a voltage tester. Ensure you have the fan kit, mounting bracket, screws, and blade set. Measure ceiling height carefully. The recommended minimum clearance is 7 feet from the floor and 10-12 inches from the ceiling. Proper preparation prevents mistakes and ensures a smooth, safe installation process for your ceiling fan.
Step 2: Turn Off Power and Prepare Electrical Box
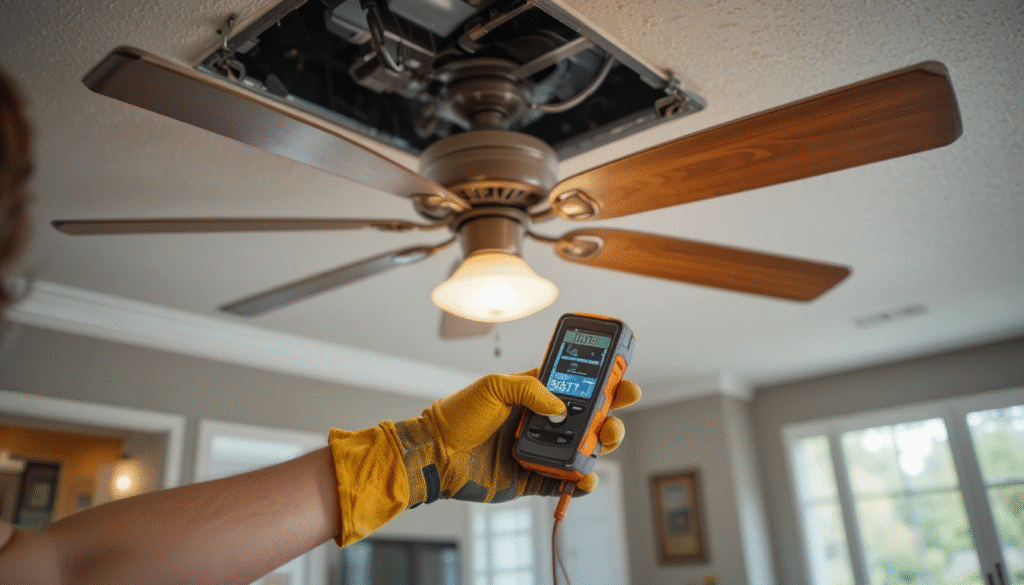
Safety is crucial when installing a ceiling fan. Switch off the circuit breaker and verify no current using a voltage tester. Remove the existing fixture carefully, ensuring the ceiling box can support 50-70 pounds. Reinforce with a fan-rated electrical box if required. Use a measuring tape to mark the accurate mounting bracket positions for proper alignment and stability before installing.
Step 3: Install the Mounting Bracket Accurately
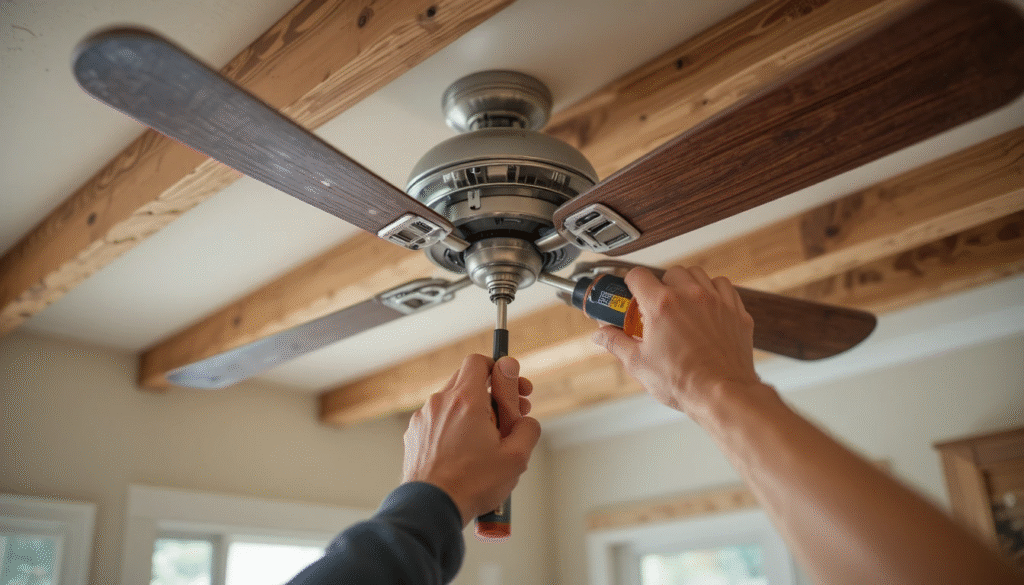
Securely attach the mounting bracket to the ceiling box using the supplied screws or anchors. Verify the bracket is level with a spirit level to avoid wobbling. Ensure screws penetrate ceiling joists or use toggle bolts for heavy fans. Confirm the bracket can safely hold 50-70 pounds. Proper installation of the mounting bracket is a critical step in ensuring safety and stability when installing.
Step 4: Wire the Ceiling Fan Properly
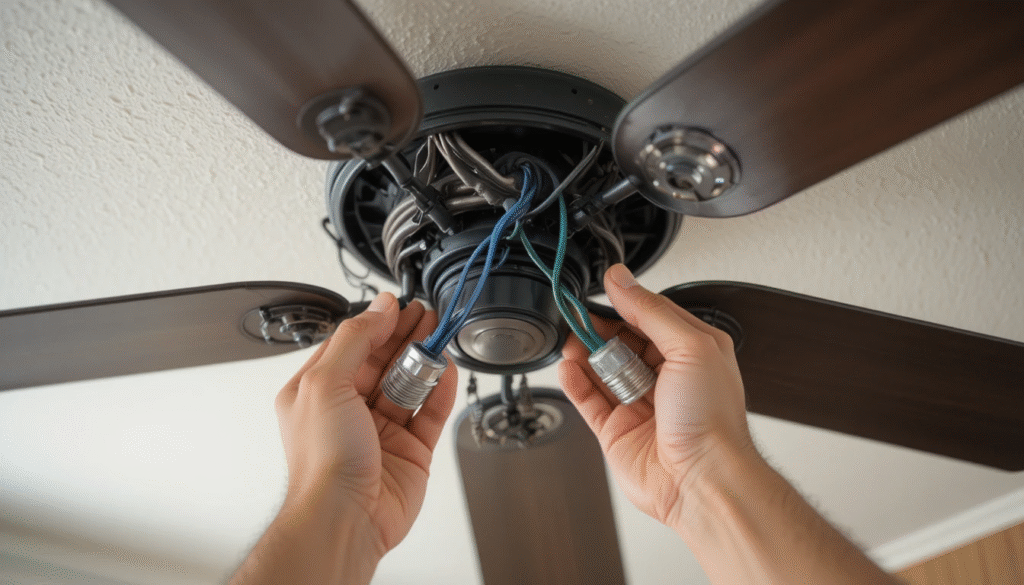
When installing a ceiling fan, connect wires according to color codes: black to black (hot), white to white (neutral), and green or bare copper to ground. Use wire nuts and electrical tape for secure connections. Carefully tuck the wires into the ceiling box and double-check the fan motor wiring. Correct wiring is essential for safe, efficient operation and ensures the proper functioning of lights and speed controls.
Step 5: Attach Fan Blades and Test Operation
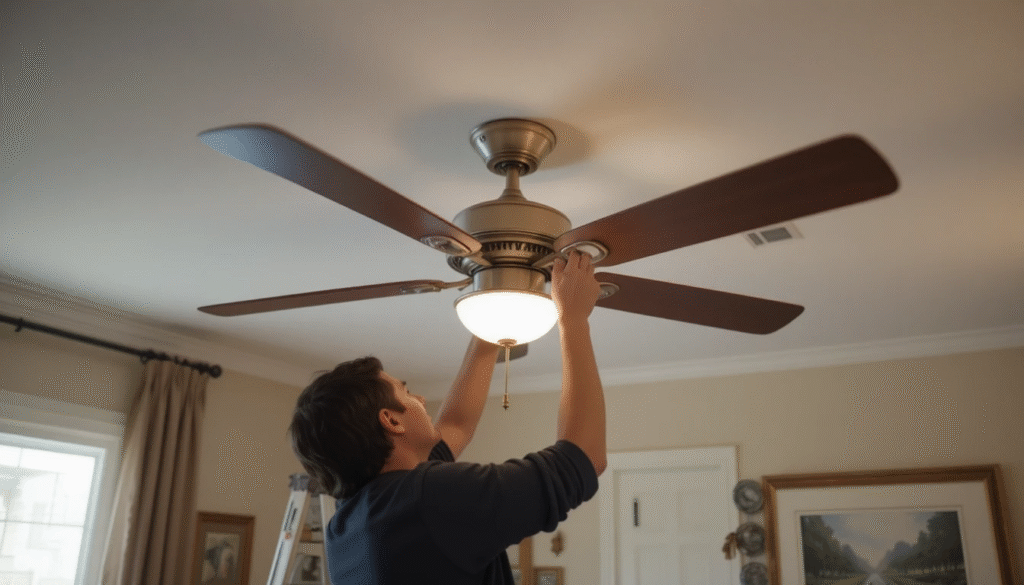
Attach the fan blades securely using the provided screws, maintaining even spacing approximately 8-10 inches from the walls. Connect any light kit according to the manufacturer’s instructions. Turn on the power to test the fan for smooth rotation and balanced operation. Adjust the wobbling with a blade-balancing kit if necessary. Correct blade installation and testing guarantee long-term performance, safety, and maximum airflow efficiency.
Tips and Maintenance
- Regular maintenance ensures efficient installation of the fan.
- Clean blades every 2-3 months to prevent dust buildup.
- Tighten screws and check for wobbling.
- Lubricate moving parts if recommended by the manufacturer.
- Reverse blade rotation seasonally for optimal airflow.
- Inspect wiring periodically to ensure safety.
Choosing the Right Place for Installation
- Selecting the proper location is critical when installing a ceiling fan.
- Position centrally in the room for uniform airflow, keeping at least 7 feet clearance from the floor.
- Avoid obstructed areas near cabinets or low ceilings.
- Measure distance from walls (8-10 inches recommended) to prevent wobbling.
- Ensure proximity to a reliable power source and ceiling joists.
Choosing the Correct Ceiling Fan Size for Maximum Efficiency
Selecting the right ceiling fan size is essential for achieving proper airflow and energy efficiency in any room. A fan that is too small may fail to circulate air effectively, while an oversized fan can create excessive airflow and discomfort. Typically, small rooms require fans between 36 and 44 inches, medium-sized rooms perform best with 44–52 inches, and larger spaces need 52 inches or more for balanced air distribution.
Ceiling height and room layout should also be considered when selecting fan size to ensure optimal performance. Choosing the correct dimensions not only improves comfort but also enhances the overall lifespan and efficiency of the fan system.
Final Cost on Installation
The total cost for installation depends on the fan price, tools, and labor. Standard fans range from $80 to $250; high-end models cost $400+. Electrical materials, mounting brackets, and optional accessories may add $20-$50. Hiring a professional electrician may cost $75-$150 per hour. DIY installation reduces labor costs. Budgeting for quality fans and safe installation ensures long-term efficiency and value.
Conclusion
Installing a ceiling fan requires proper planning, correct tools, and safe electrical practices. Following precise wiring, secure mounting, and optimal placement ensures balanced operation, efficient airflow, and long-term performance. Regular maintenance, such as cleaning blades, tightening screws, and seasonal adjustments, prolongs the lifespan of the fan. Considering room size, fan type, and budget guarantees the best results. Careful adherence to guidelines ensures safety, energy efficiency, and effective cooling after installation.
Apart from that, if you want to know more about Andy Florance: An In-Depth Overview of His Achievements, Net Worth, Personal Life, Age, Height, Business Organization, and More then visit our Quick Bites category.
FAQs
Essential tools include a screwdriver, pliers, wire strippers, a voltage tester, a drill, a ladder, measuring tape, and the fan kit. Proper tools ensure safe, smooth, and efficient ceiling fan installation.
The fan should hang at least 7 feet from the floor and 10–12 inches from the ceiling. Correct height ensures safety, optimal airflow, and balanced operation for effective cooling.
DIY installation is possible with proper tools, safety precautions, and knowledge of wiring. Following step-by-step instructions prevents errors and ensures your ceiling fan operates safely and efficiently.