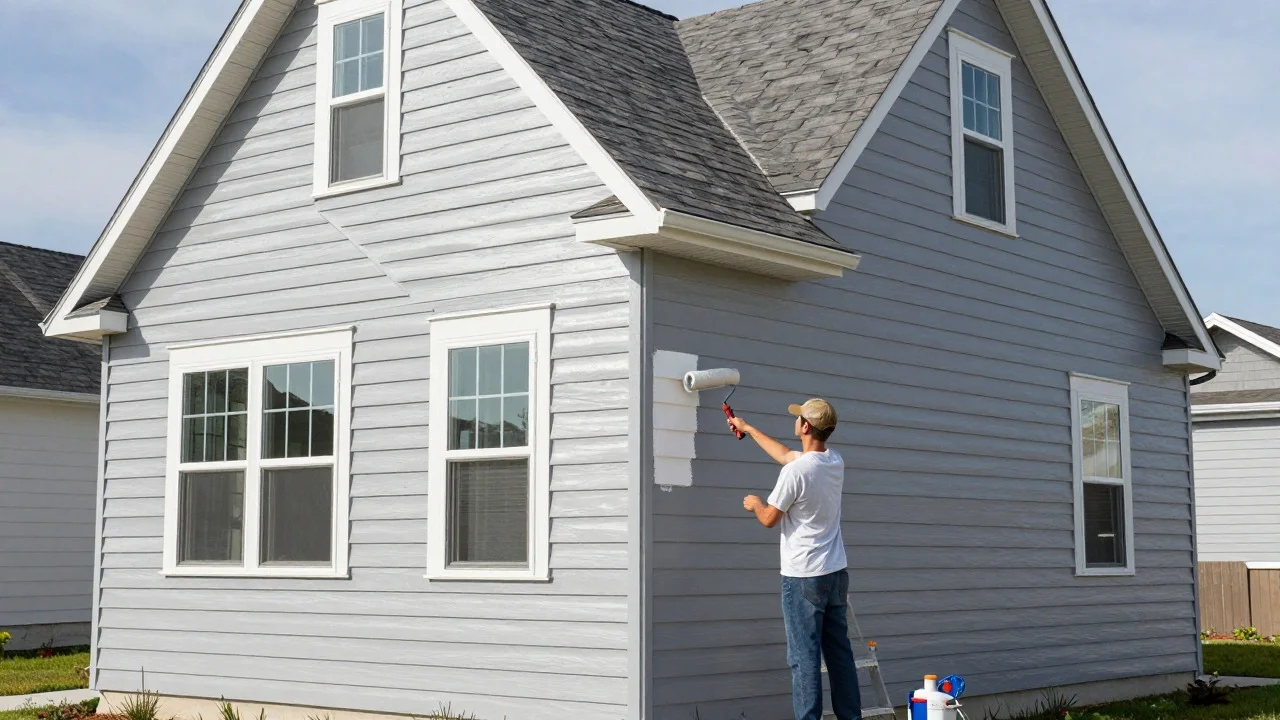
To learn how to paint aluminum siding, focus on surface preparation first. Wash away chalky oxidation, remove loose paint, prime bare or heavily weathered areas, and then apply two thin coats of exterior acrylic paint. Work in dry, mild weather and follow the product label for drying and recoating times.
A good paint job can refresh faded metal siding without the cost and disruption of replacing panels that are otherwise in sound condition. The finish will only last, however, if the new coating has a clean and stable surface to grip.
| Project detail | What to know |
|---|---|
| Best finish paint | Quality exterior 100% acrylic paint |
| Main preparation issue | Chalky oxidation and loose old paint |
| Primer | Use a compatible exterior metal or bonding primer where needed |
| Typical finish coats | Two thin coats |
| Application options | Brush, roller, or airless sprayer |
| Best conditions | Dry, mild weather without strong direct sun |
| Biggest cause of failure | Painting over dirt, chalk, moisture, or loose coating |
Should You Paint or Replace the Siding?
Painting makes sense when the panels are still secure and the main problems are fading, chalking, or an outdated color. Minor dents and cosmetic wear do not always justify complete replacement.
Replacement becomes more sensible when panels are badly damaged, loose, perforated, or failing across large sections. Homeowners comparing replacement materials can also review Homlyst’s fiber cement siding cost guide before deciding how much exterior work is needed.
Check nearby parts of the exterior at the same time. Crumbling mortar beside the siding, for example, should be repaired before the new finish goes on. Homlyst’s repointing brick guide explains what to look for around masonry joints.
What You’ll Need
Gather your supplies before washing the first wall. Stopping halfway through preparation can leave different sections of the siding in different conditions.
You may need:
- Exterior house-wash cleaner or another cleaner approved for the surface
- Soft or moderately stiff cleaning brush
- Garden hose or carefully controlled pressure washer
- Paint scraper
- Sandpaper or sanding block
- Exterior primer rated for aluminum or other non-ferrous metal
- Quality exterior acrylic paint
- Synthetic brushes
- Roller and extension pole
- Paint tray
- Painter’s tape and masking film
- Drop cloths
- Gloves and eye protection
- Safe ladder or suitable access equipment
If you’re cleaning around windows before masking them, Homlyst’s window-washing guide covers exterior cleaning tools and cautions related to pressure washing.
What Paint and Primer Work Best?
A quality 100% acrylic exterior coating is a common choice for properly prepared metal siding. Sherwin-Williams notes that surface preparation matters more than whether you brush or spray the finish. Chalk left beneath the coating can prevent proper adhesion.
Primer requires more judgment. Bare metal, repaired spots, and badly weathered areas generally need a compatible metal or bonding primer. A sound existing factory finish may not always require a full primer coat across the entire house.
Check the technical sheets for both the primer and paint before combining products. The manufacturer should specifically approve the coating for use on aluminum or other non-ferrous metal.
How to Paint Aluminum Siding in 7 Steps
Choose suitable painting weather.
Choose a dry period with moderate temperatures. Avoid painting a wall while it is hot from strong, direct sunlight. Check the paint label for the permitted temperature range, humidity limits, and required rain-free period.
Inspect the surface.
Walk around the house and look for loose panels, dents, peeling coating, mildew, exposed metal, and chalky areas. Rub a dark cloth across a dry panel. Powder on the cloth is a sign that the old finish is chalking.
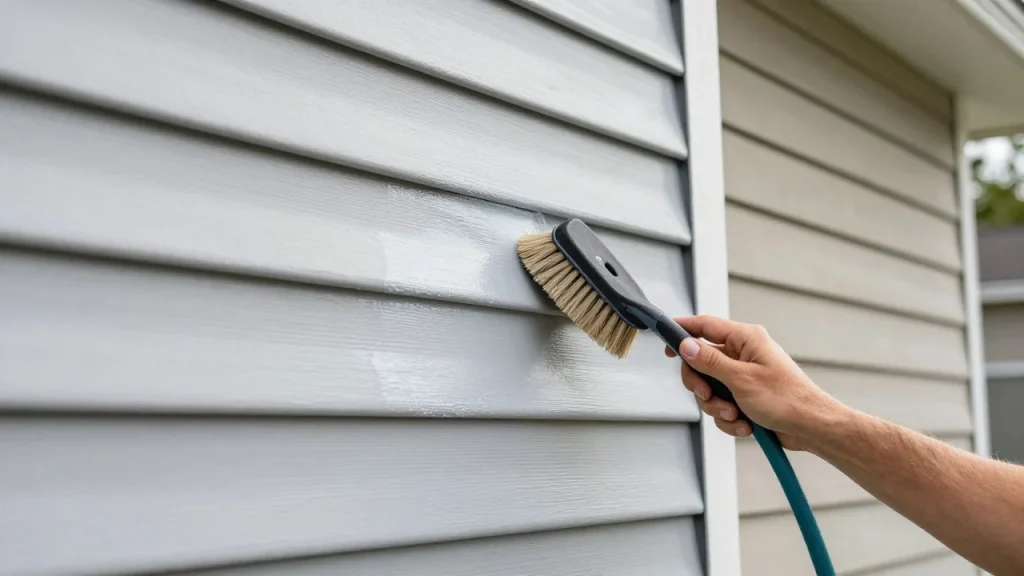
Wash the siding thoroughly.
Remove dirt, mildew, pollen, and oxidation before sanding or applying any coating. If you use a pressure washer, direct the water so that it does not force moisture behind the overlapping panels. This Old House also stresses the importance of removing chalky pigment before priming and painting.
After rinsing, let the wall dry completely. Then repeat the cloth test. If powder still transfers to the cloth, clean that section again.
Remove loose paint and smooth rough edges.
Scrape away any coating that no longer bonds firmly to the surface. Feather rough edges with sandpaper instead of stripping every intact layer.
Older homes require extra caution. Renovation or painting work on a pre-1978 home can create hazardous lead dust when lead-containing coatings are disturbed. EPA lead-safe renovation guidance recommends lead-safe practices and encourages homeowners to use lead-safe certified contractors for these projects.
Prime the areas that need it.
Apply a compatible exterior primer to exposed metal, repaired areas, and any other sections specified by the coating manufacturer. A heavily weathered surface may require more extensive priming.
Do not treat primer as a substitute for washing. Primer applied over loose chalk is still bonding to the chalk rather than to a stable surface.
Apply the first finish coat.
Cut in around windows, doors, corners, and trim with a brush. Then cover broad areas with a roller or sprayer.
Work from the top downward. On horizontal siding, follow the direction of the panels and maintain a wet edge. Thin, controlled coverage helps reduce drips and heavy ridges.
Spraying can speed up a large project, but it requires careful masking and good spray control. Sherwin-Williams says both spraying and brushing can produce good results when the surface has been prepared correctly.
Apply the second coat after the correct recoat time.
Let the first coat dry for the period specified on the paint label. Inspect the surface for drips, thin spots, or debris before applying the next coat.
Apply another thin, even coat rather than trying to build a thick film in one pass. Two controlled coats usually produce more even color and coverage than one heavy application.
How to Avoid Peeling, Lap Marks, and Early Failure
Most problems begin before the paint can is opened. A wall that still feels dusty or leaves chalk on your fingers needs more preparation.
Avoid these common mistakes:
- Painting over chalky oxidation
- Coating damp siding
- Leaving peeling paint beneath the new finish
- Using a primer that isn’t approved for aluminum
- Applying one heavy coat instead of controlled coats
- Painting a wall that has been heated by direct sunlight
- Ignoring manufacturer drying and recoat times
- Directing high-pressure water upward beneath lap joints
- Allowing one section to dry before the adjoining paint can blend into its wet edge
One useful habit is to work around the house according to where the shade falls. Painting a cooler wall can give you more working time than tackling a section that is heating quickly in direct sunlight.
Brush, Roller, or Sprayer?
| Method | Best use | Main advantage | Main drawback |
|---|---|---|---|
| Brush | Trim, edges, small areas | Good control | Slow on large walls |
| Roller | Broad DIY sections | Simple and accessible | Requires attention to lap marks |
| Sprayer | Large exterior areas | Fast, even coverage | Requires more masking and skill |
A brush and roller are practical options for many homeowners. Spraying becomes attractive on a large, open façade, but speed should never replace proper preparation.
Plan Exterior Maintenance Beyond the Paint Job
While you’re working around the house, note caulk failures, water stains, damaged trim, loose gutters, and other problems that could shorten the life of the new coating.
Exterior painting is one part of ongoing property care. Homlyst’s long-term home maintenance budgeting guide offers a broader framework for planning recurring exterior work and replacement reserves.
Once the final coat has dried, remove the masking carefully and inspect the walls from several angles. Save a labeled amount of leftover paint for future touch-ups.
Give the New Finish the Best Chance to Last
A durable exterior repaint comes down to a simple sequence: inspect, clean, repair, prime where required, and apply controlled finish coats. Do not rush the chalk-removal stage. A clean, dry, stable surface gives the coating the foundation it needs.
If large sections are damaged rather than merely faded, price the repair or replacement before buying paint. That comparison can prevent you from spending days coating siding that already needs major work.
Frequently Asked Questions
The key is to remove dirt, oxidation, and loose coating before applying new paint. Prime exposed or badly weathered areas with a compatible product, then apply thin coats of exterior acrylic paint. Painting over chalk is one of the main reasons adhesion fails.
Usually not. Sand peeling edges, rough transitions, or glossy areas that need better mechanical adhesion. A sound coating does not automatically need to be stripped down to bare metal.
Not in every situation. Bare aluminum and repaired or deteriorated areas commonly need primer. The condition of the existing coating and the paint manufacturer’s directions should determine whether full priming is required.
Yes, with care. Keep the spray controlled and avoid forcing water behind the laps. Cleaning should remove contamination without flooding the wall assembly.
Choose an exterior acrylic coating that the manufacturer approves for the existing surface. Product compatibility matters more than choosing paint based on color or price alone.